~/adi
Screen Recording GIFs
A picture is worth a thousand words. A video is worth 1000 * frame_rate words? Probably not, unless every frame is a completely different picture - I’ve probably taken this aphorism too far.
But a video is very useful at illustrating a series of steps especially when it comes to explaining how to do something on a computer. As I’m doing more tutorials on this blog, I wanted to have GIFs of steps in the process to better explain what’s going on.
Searching the internet for this generally returns dodgy websites that I’d rather not use1, so I looked for a way to do it using myself.
MacOS comes built-in with a good Screenshot (née Grab) app, which allows recording sections of the screen on Catalina2, which will produce a .mov file, probably on your Desktop.
Once you have a video you want to make a GIF, here’s how:
- Download and install
ffmpeg. Easiest way on MacOS isbrew install ffmpeg3. - Run the following command4, changing the filepaths
input.mov,output.gif, and the settingsfps=10andscale=640as required.
ffmpeg -i input.mov -vf "fps=10,scale=640:-1:flags=lanczos,split[s0][s1];[s0]palettegen[p];[s1][p]paletteuse" -loop 0 output.gif
- Preview the GIF and adjust the scale/fps as needed for its level of detail. The height will scale proportionally.
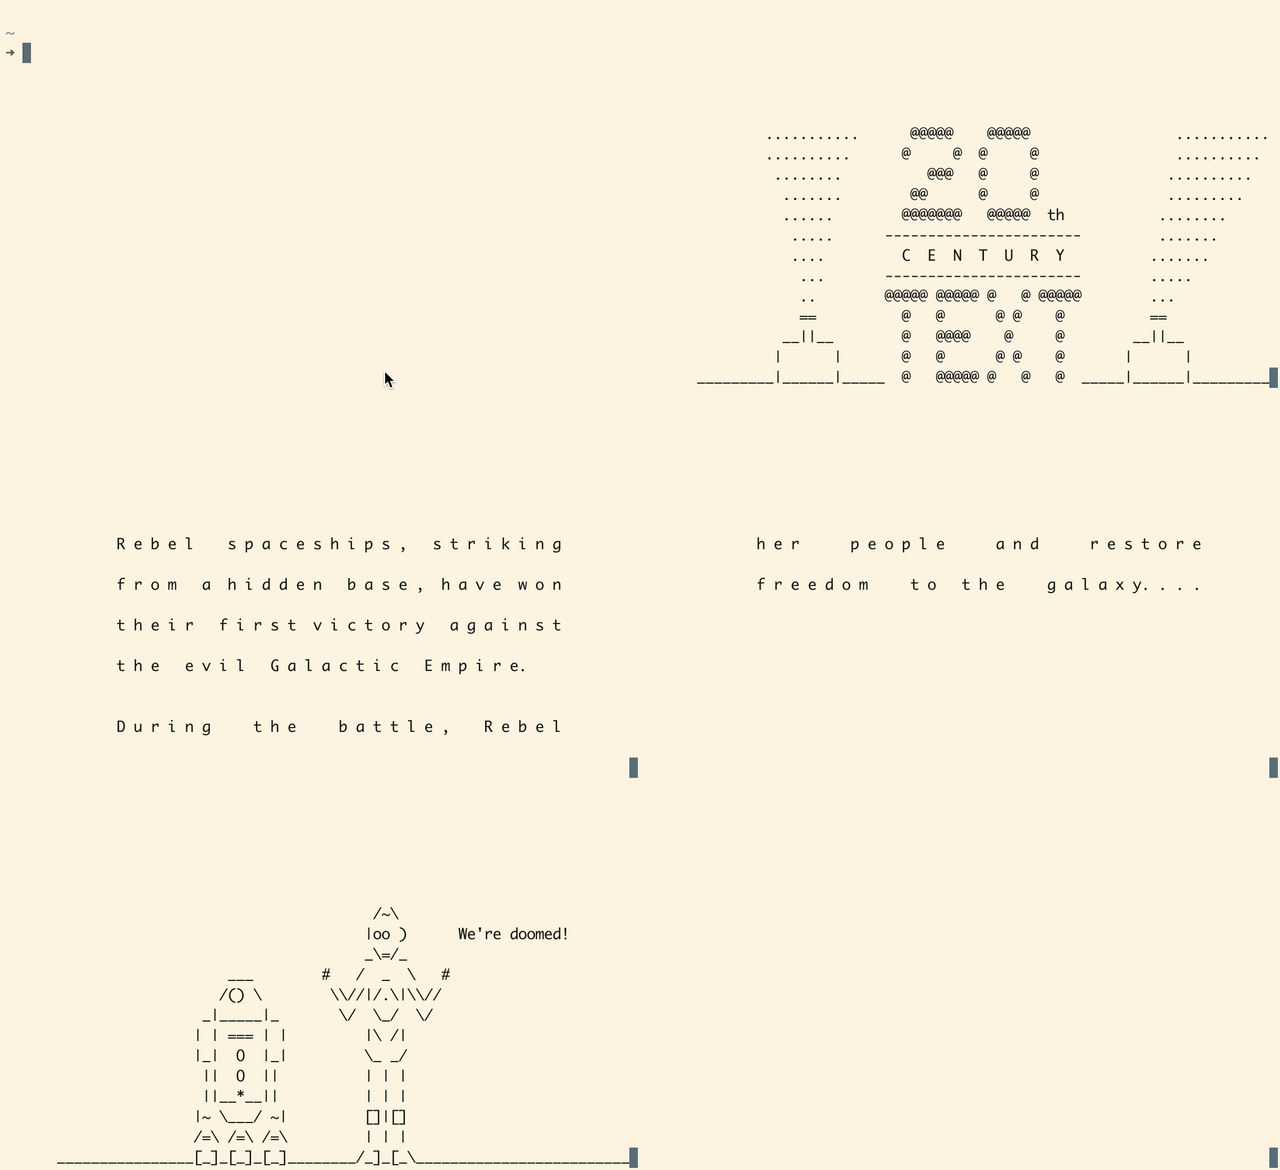
Here’s a gif of my screen recording of the intro of ASCII Star Wars Episode IV:

Footnotes:
I later discovered Giphy offers this service, but you have to create an account to use it, and it seems to upload the GIF to the platform. ↩︎
I couldn’t get it to record it’s own interface so here are some instructions. ↩︎
If you don’t have Homebrew installed, consider installing it, or using one of the static builds on the FFmpeg website. ↩︎
© 2025 Adi Mukherjee. Credits.