~/adi
Adblocking
Prerequisites
- A Raspberry Pi
- An micro/SD card reader
- Admin access to router
Steps
- Download and install the Raspberry Pi Imager
- Insert the SD card into your computer
- Run the imager
- Select the OS and SD card in the Imager, and Run. I chose Raspbian Lite because I didn’t need Desktop as I would only be running webapps.
- After the image has been written to the SD card, create a new file
sshon thebootvolume:touch ssh. This allows it to start with SSH enabled, for headless setup. Additional instructions here for WiFi setup, if you can’t connect the Pi via Ethernet. - Connect the Pi to power and your local network.
- Find the Pi’s IP address using a tool like Fing, your router’s DHCP page, or
arp -a- look forraspberrypi. - SSH to the Pi:
ssh pi@<IP address>. It’s a new host, so respond yes toAre you sure you want to continue connecting?. The default password israspberry. - Change the password as instructed using
passwd - Install Pi-Hole
wget -O basic-install.sh https://install.pi-hole.net
- Note down the admin console password at the end.
- Log in to the Pi-Hole interface at
<IP address>/adminand change the password. - Configure your DNS following [these instructions](wget -O basic-install.sh https://install.pi-hole.net). I tried to configure my router but it didn’t work so had to use the Pi-Hole as my DHCP server.
- Refresh all the DHCP leases on your network - I did this by restarting my router.
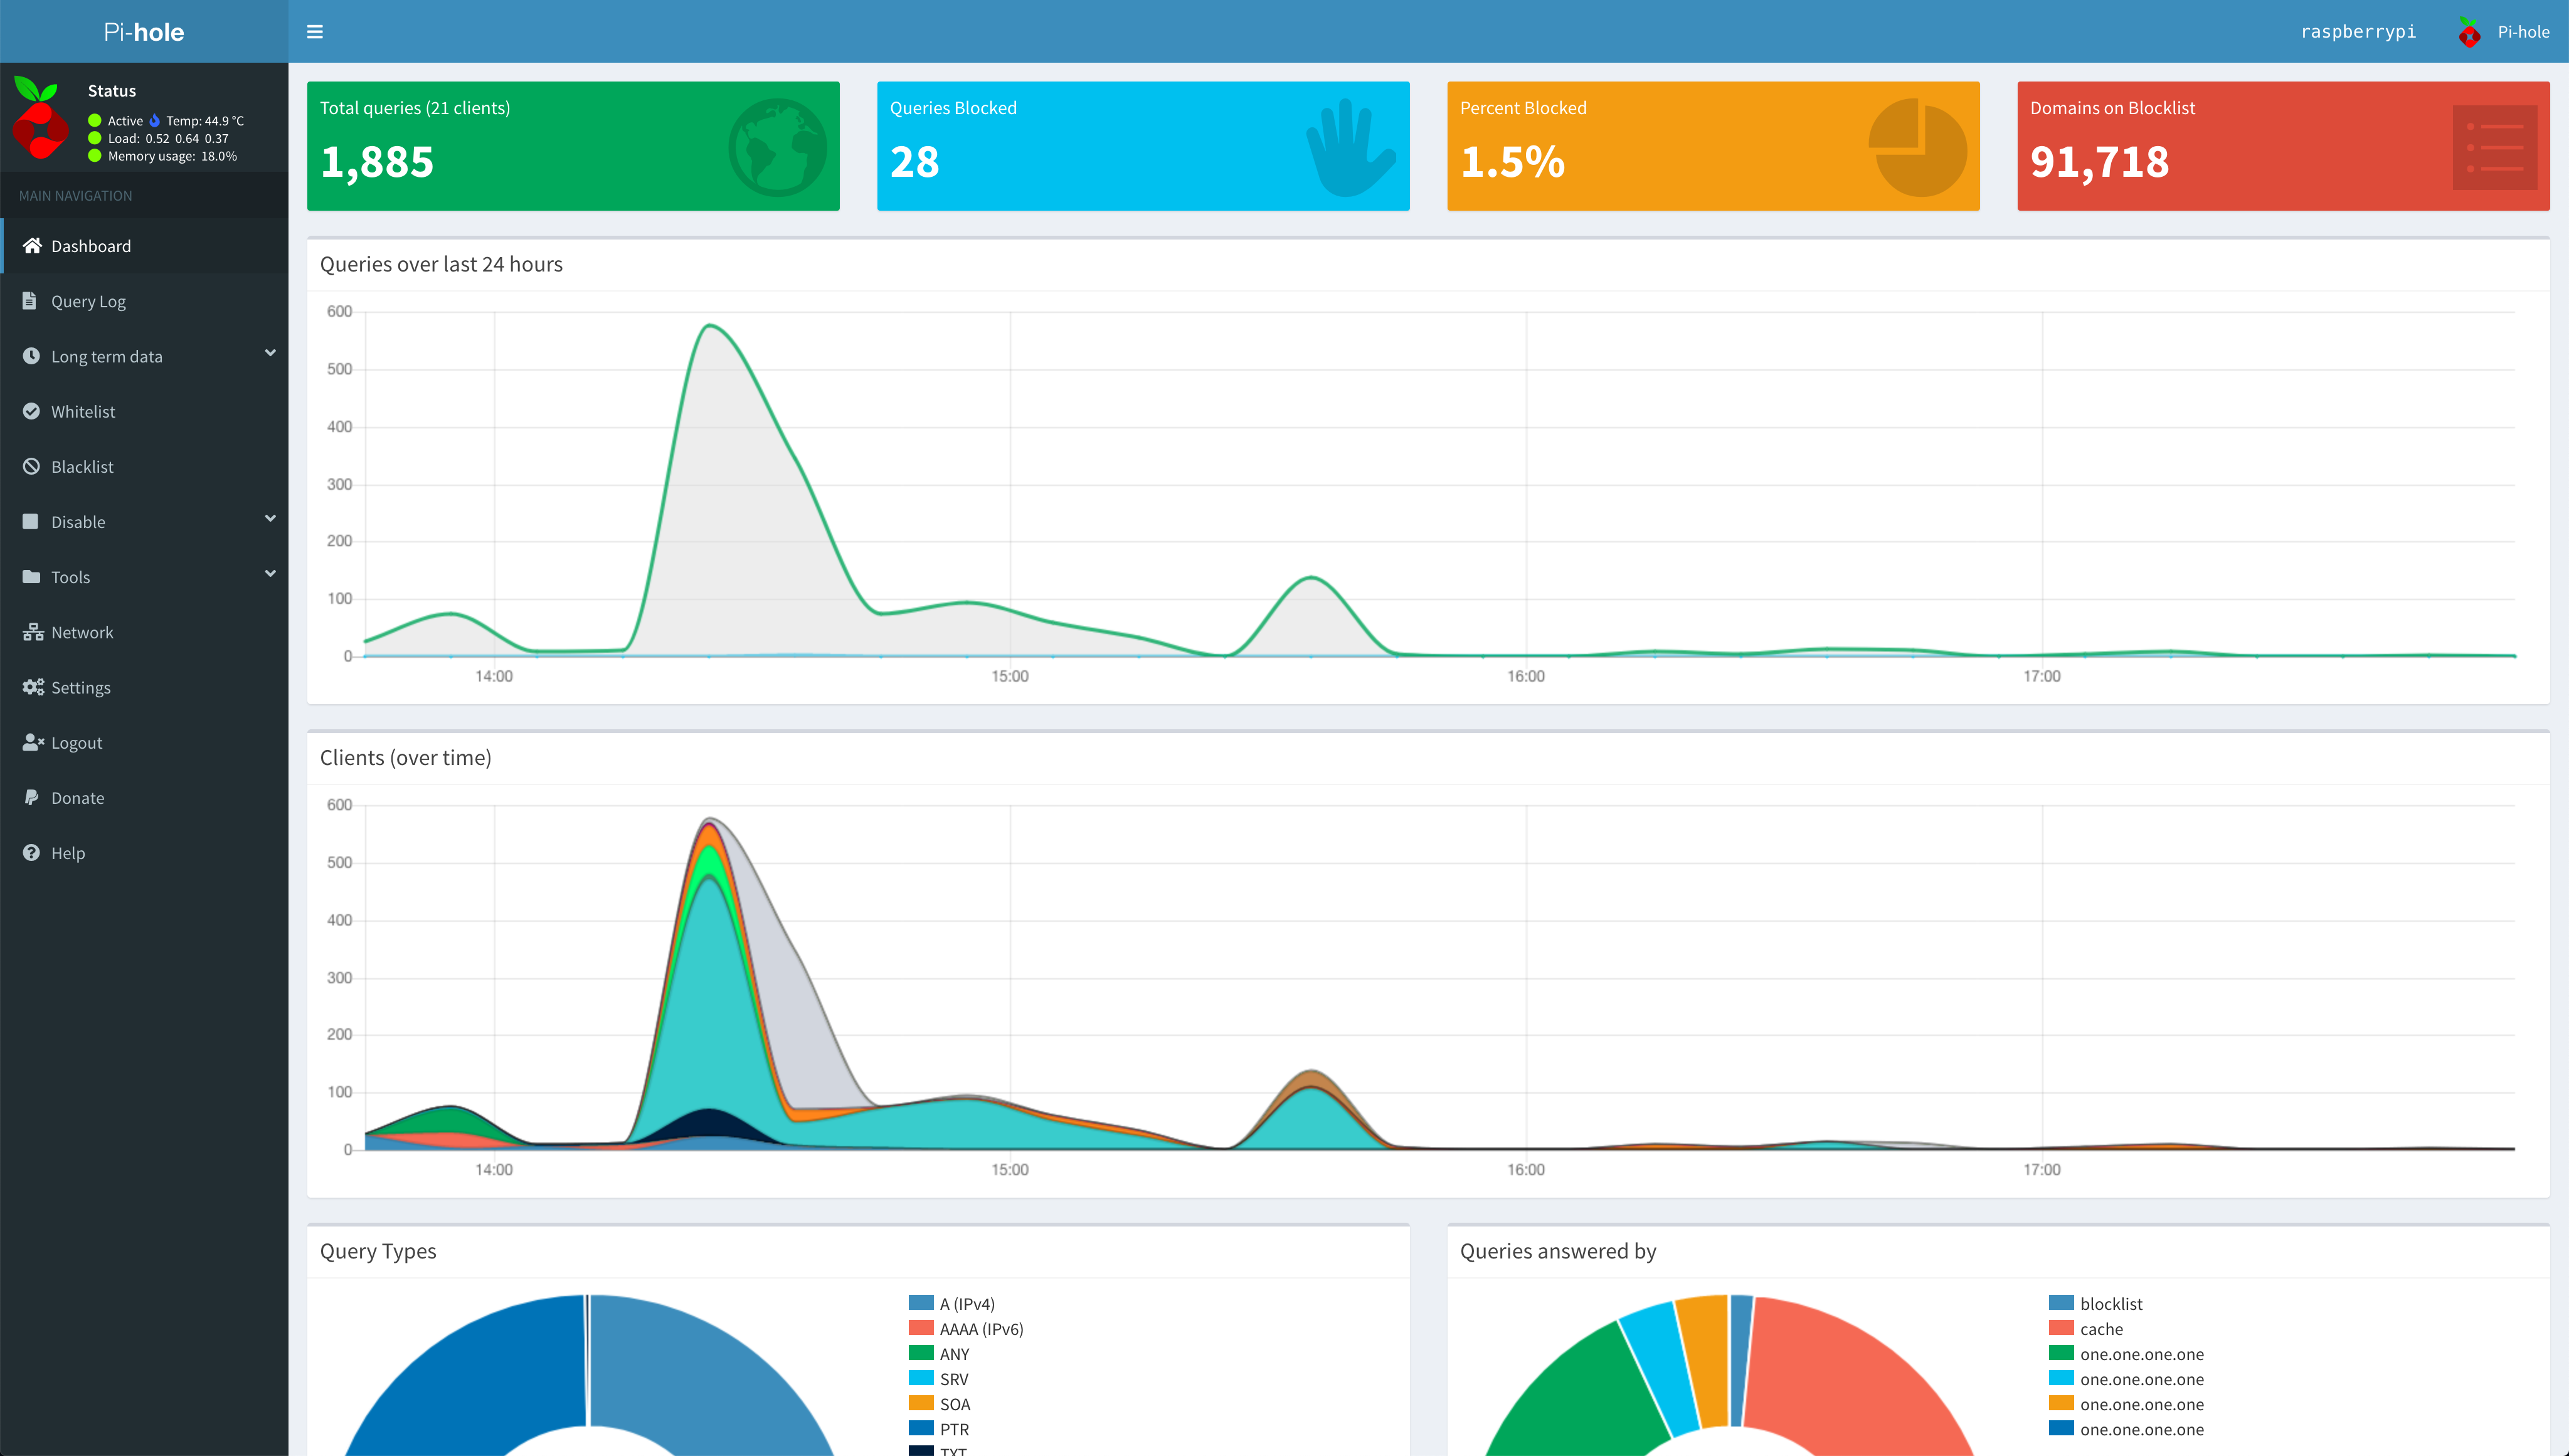
- Log in to the Pi-Hole Admin interface
- Check the
Settings > DHCPto verify your devices are using it as the DHCP server. - Check the
Networkto verify your devices are using it as the DNS server. - Enjoy network-wide ad blocking!
Troubleshooting
I can’t access the admin interface at pi.hole
Restarting the router worked for me.
I’m loading pages on my device but the Pi-Hole logs don’t show the queries
Check if you have any browser extensions or locally running software that is blocking domains. I have a pretty extensive /etc/hosts file1 that blocks lots of domains so only domains that aren’t blocked at my laptop’s network level will make it to the Pi-Hole.
Footnotes:
This is made redundant due to the Pi-Hole also using the same blocklist, but I keep it for when I’m not on my local network. ↩︎
© 2025 Adi Mukherjee. Credits.